.png?width=200&height=50&name=cydarm%202024%20logo%20blue%20on%20transparent%201000x250%20(3).png)
If you are using Single Sign On (SSO), please refer to Create a new SSO user account.
Prerequisites
To create a new user, you must be a member of the User Manager group, or the Admin group, which inherits the User Manager group's privileges.
Overview
There are 2 key steps to creating a user account:
- Creating the user account
- Adding the user to groups
Assigning the user to appropriate groups is essential for granting them the necessary access to objects and privileges within the platform.
1. Create a user account
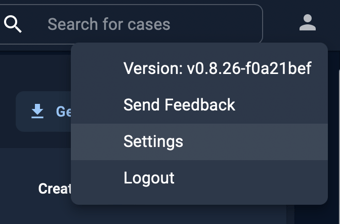
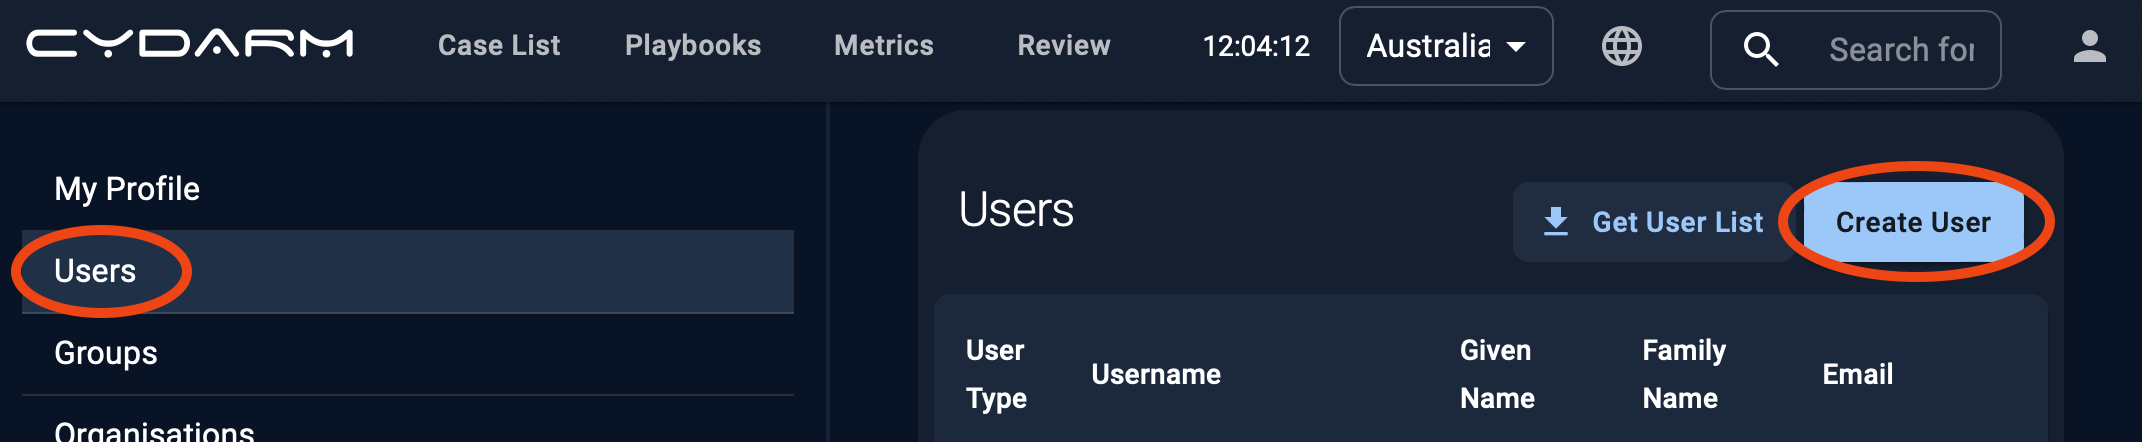
1. Go to Settings.
2. Go to Users and click on Create User.
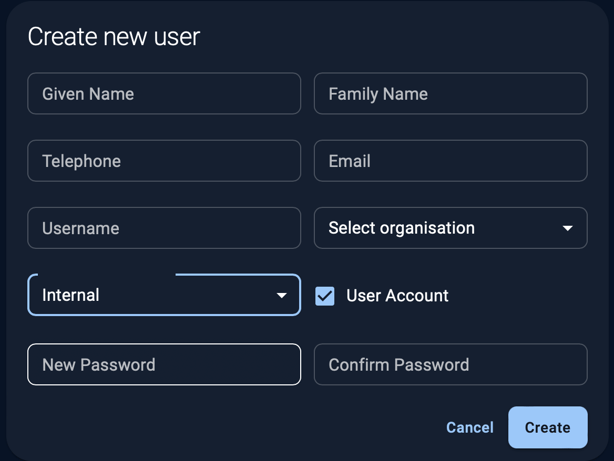
- We recommend using email address for username, although this is not mandatory
- Telephone is optional
- Select the default organisation to associate the user with
- For "Select authentication source" choose "Internal"
- Set a password for the user
For User accounts, ensure User Account is ticked.
For Service accounts (e.g. for automation purposes), untick User Account. Only user accounts will be displayed in case assignment lists.
2. Configure group membership
By default, new user accounts are only created with login permissions, and nothing else. All access rights must be configured once the account is created.
- Navigate to the newly created user account to configure permissions.
- Click on the arrow below Group Membership
- For more information on which groups to add the user to, see the Attribute Based Access Control article.

Other information
Automation or service accounts
Ensure that when the account is created, User Account is not ticked. You can also edit existing users to convert them to Automation accounts - uncheck User Account. This will mean users in the platform cannot assign cases or playbook actions to the account.

Deactivate/reactivate a user
In the instance that you may want to remove or make changes to a user account, it is important to note that Cydarm accounts are never deleted, but rather deactivated, and that the deactivated accounts can be viewed and reactivated if required.
To deactivate or reactivate an account:
1. Go to Settings.

2. Click on the bin icon next to the user you are wanting to deactivate.

3. The user will be moved to the deactivated user list located at the bottom of the Users screen.
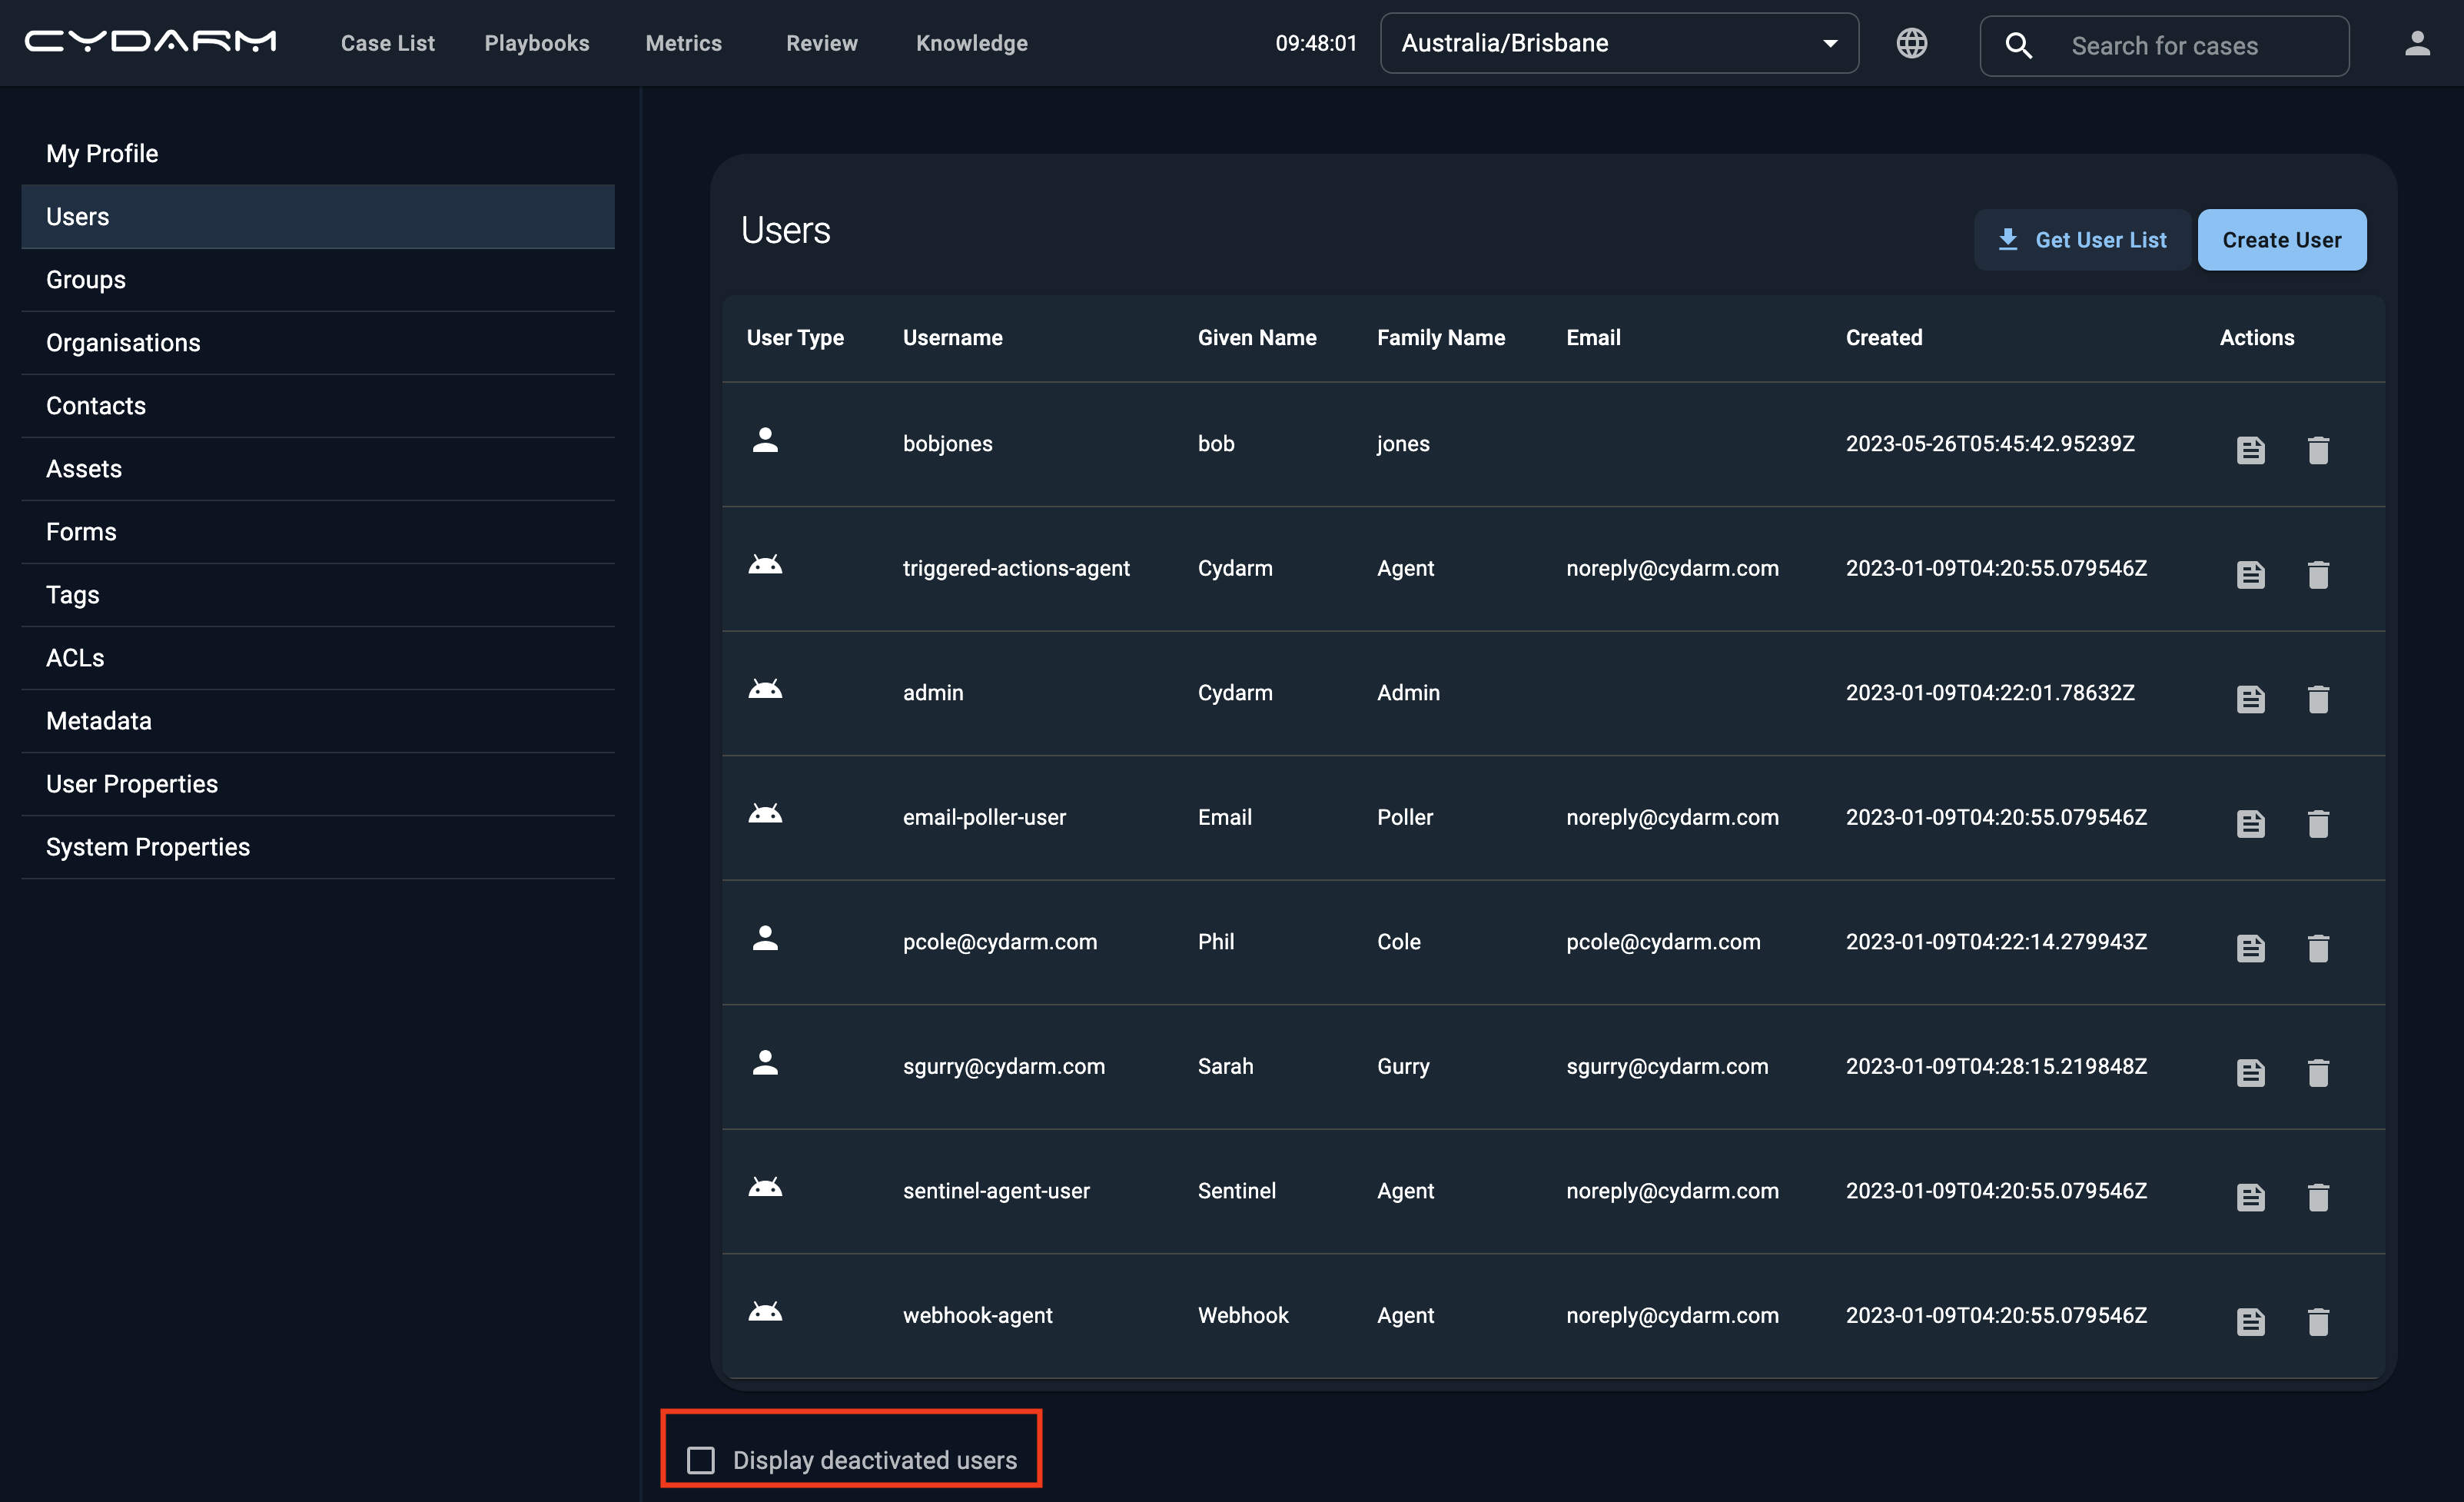
4. To reactivate the user, click on the Display deactivated users checklist you find the user name and click on the reactivate arrow on the right side of the user
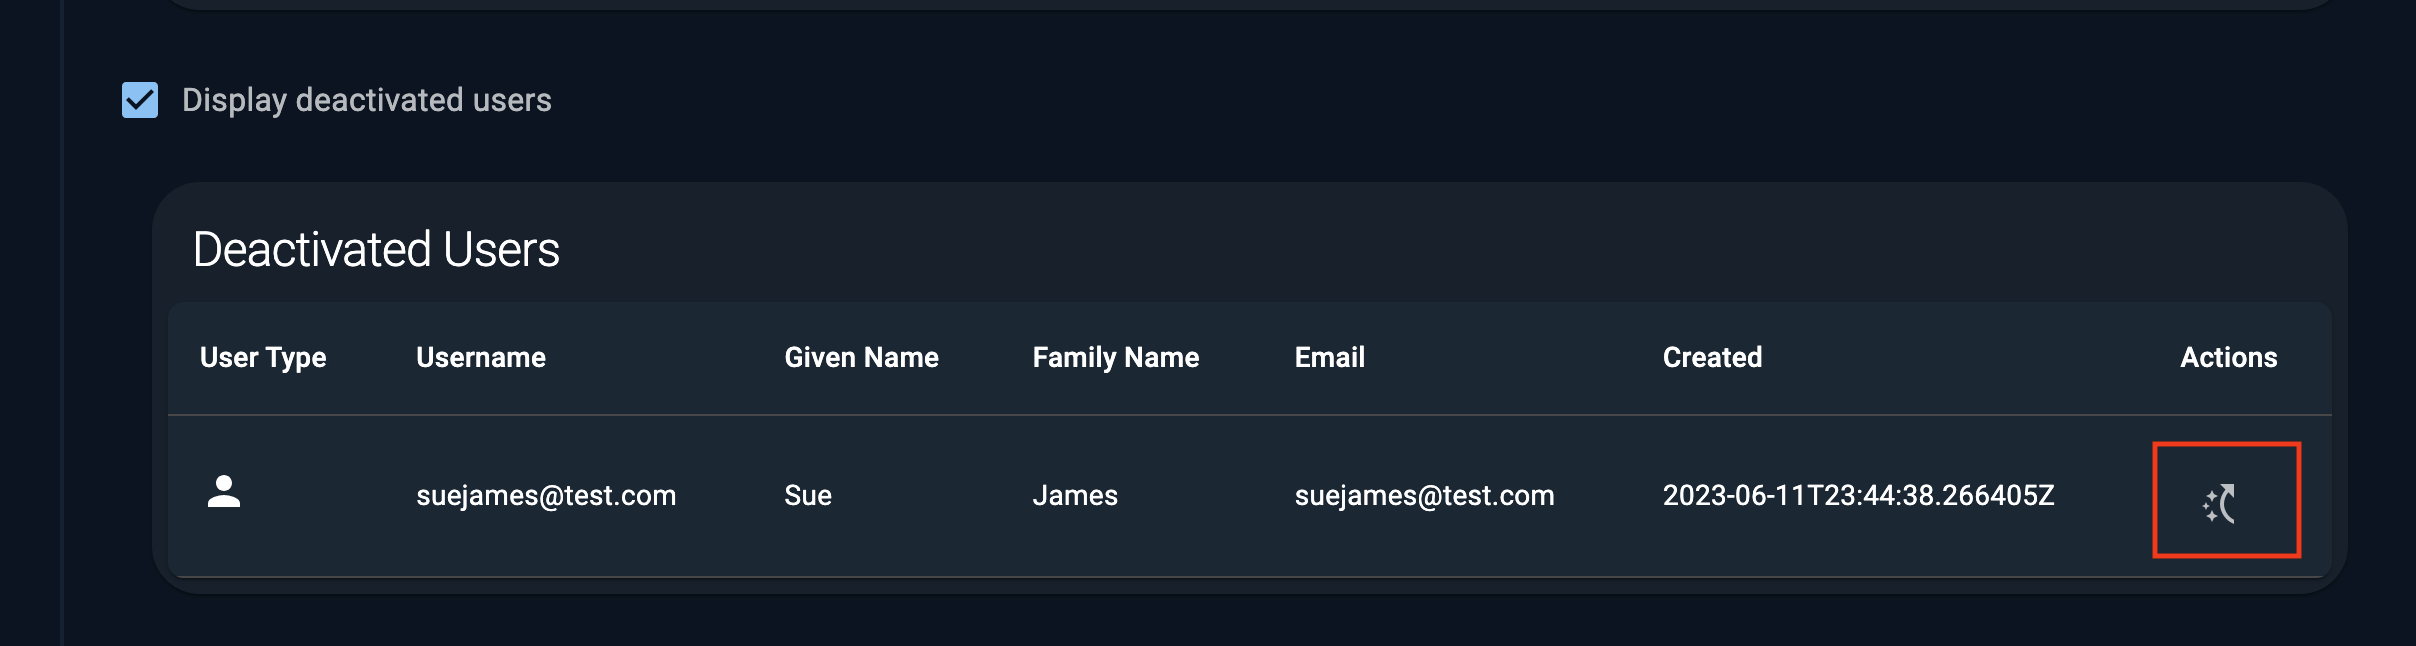
5. The deactivated user will now appear in the Users list of names
How to revoke user access via Entra ID (SAML):
If you need to permanently remove a user's access via your Identity Provider, you will need to remove them from the allowed users list within your Entra ID (Azure AD) Enterprise Application.
To remove a user:
- Head to the Azure portal
- Navigate to Enterprise App
- Click on Manage
- Click on Users and Groups
- Select the checkbox next to the user(s) you wish to remove.
- Click Remove assignment at the top of the list.
❗️Revoking access in Entra ID will prevent the user from logging in next time, but it will not instantly terminate an active, running session. To forcefully log a user out immediately, you must also deactivate their account directly within the Cydarm platform settings.